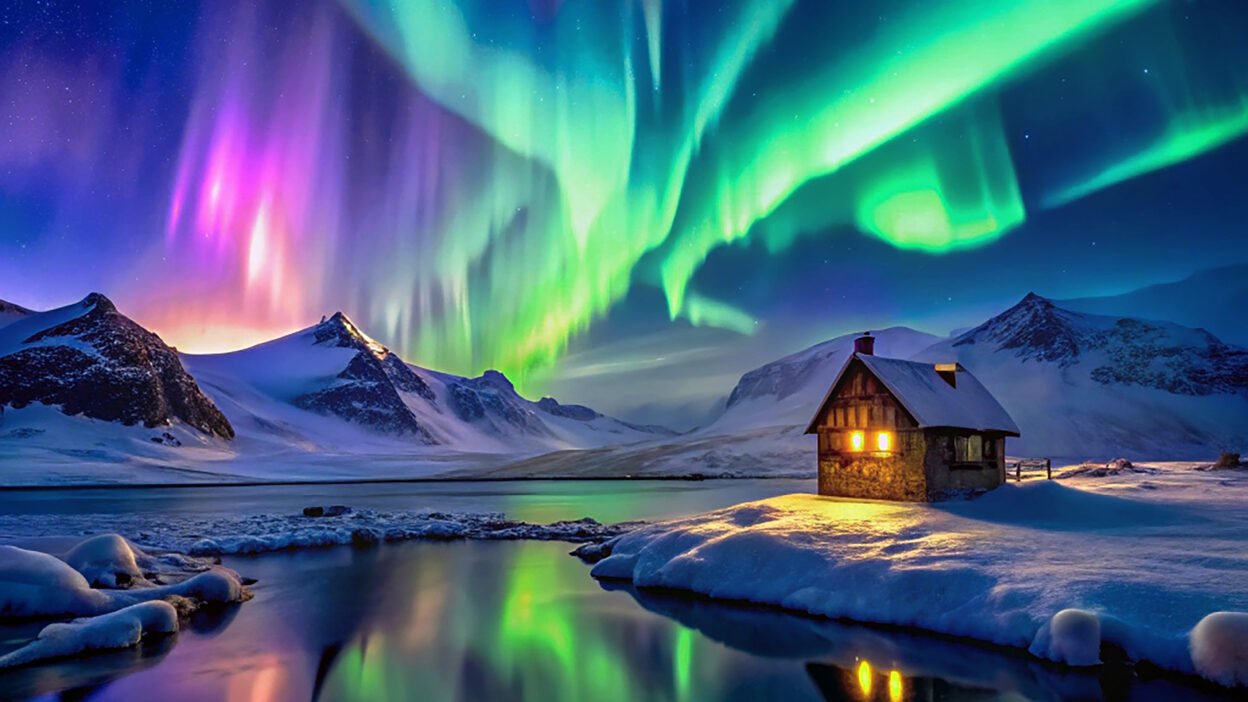
Night photography has always been a challenge, but with the right tools and techniques, your iPhone can capture stunning shots of the Northern Lights, even if you’re holding one for the first time. As the days get shorter and the nights longer in the Northern Hemisphere, the Aurora Borealis season begins, offering a spectacular light show for those lucky enough to witness it.
No matter the reason, we all want to capture the magic of the Northern Lights. But how can you do that with your iPhone? This guide will walk you through everything you need to know, from finding the perfect location to setting up your iPhone for the best shots.
iPhone Settings for Shooting the Northern Lights
Don’t freak out—it sounds complicated, but it’s actually very simple. If you’re not into tweaking settings, focus on Night Mode. This is the most important setting for capturing the Northern Lights. Without it, you won’t be able to shoot the Aurora Borealis effectively.
Night Mode
In low-light conditions, Night Mode will automatically turn on. You’ll see the Night Mode icon in the top left corner of your iPhone’s camera app. This feature keeps the camera sensor open for a longer period of time to capture more light and detail in the image—a technique known as long exposure.
By default, the exposure time in Night Mode ranges between 1 and 3 seconds, depending on how dark the environment is. For the Northern Lights, you’ll need more than this. Here’s how to adjust the exposure time to the maximum:
- Open the hidden settings menu in the iPhone’s camera app by tapping the top arrow.
- Look for the Night Mode icon and tap on it.
- A slider will appear, allowing you to adjust the exposure time.
- Slide it all the way to the right to set it to Max.
- If your iPhone detects movement (like a shaky hand), the Max value will be 10 seconds.
- If you’re using a tripod, the Max value will be 30 seconds.
For the best quality photos of the Northern Lights, aim for 30 seconds in Night Mode. If the Aurora is very bright, the exposure time might drop to 27 or 22 seconds, but that’s still great for capturing the lights.
Exposure Adjustment
This setting is optional, but it can be helpful in certain conditions. For example, if you’re shooting in a snowy environment, the reflected light might overexpose your photos. Here’s how to adjust the exposure:
- Open the hidden menu using the top arrow.
- Tap the icon with a + and – inside a circle.
- Lower the exposure to a negative value (e.g., -0.7).
The current Exposure Adjustment value will appear at the top of the screen, next to Night Mode. If your iPhone is set to preserve this setting, don’t forget to reset it to 0 when you’re done.
Preserve Settings
To ensure your iPhone remembers your preferred settings:
- Go to Settings > Camera > Preserve Settings.
- Enable Night Mode and Exposure Adjustment if you want them to stay the same between sessions.
I recommend preserving Night Mode but not Exposure Adjustment, as it’s easy to forget to reset it during the day.
What iPhone Model Do You Need?
To shoot the Northern Lights, you’ll need an iPhone 11 or newer, as Night Mode is only available on these models. While you can capture the Aurora with an iPhone 11, the quality improves significantly with newer models like the iPhone 13 Pro.
For example, the iPhone 13 Pro can even capture stunning photos of the Milky Way with no edits. The difference in image quality, noise reduction, and detail is noticeable when comparing photos taken with the iPhone 13 Pro, 14 Pro, and 15 Pro.
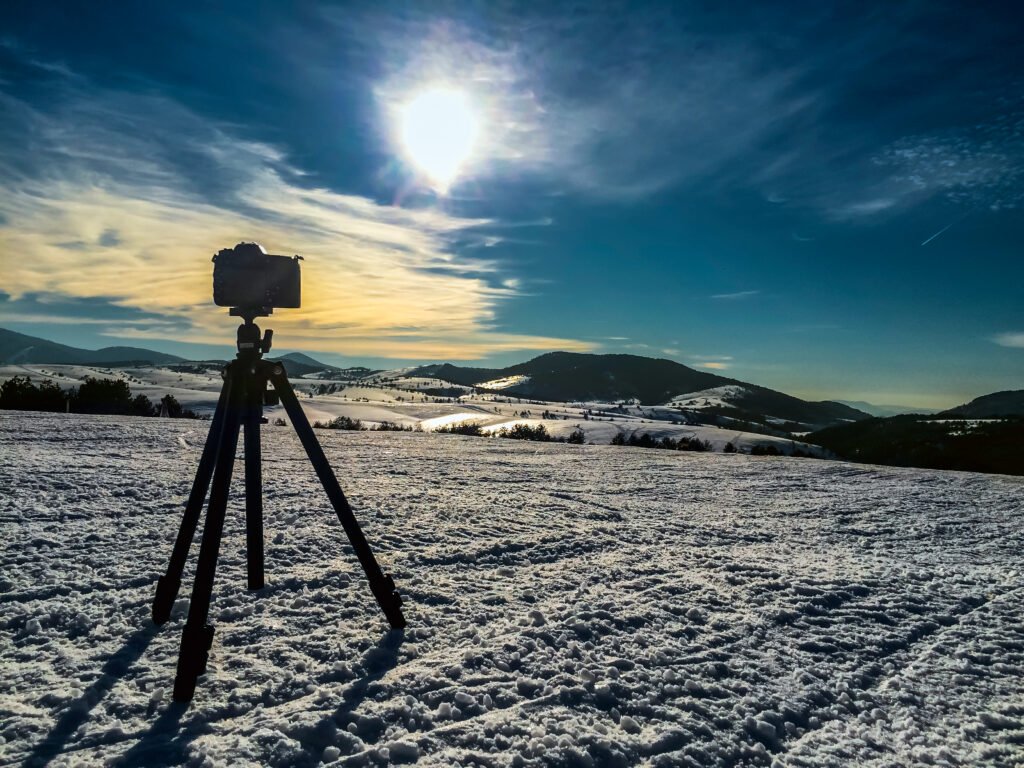
Essential Accessory: A Tripod
Night photography requires keeping your phone still for several seconds, so a tripod is a must. While there are many options on the market, choose one that fits your budget and is made of durable materials. Cold weather can be tough on plastic tripods, so consider a metal one if you’re shooting in freezing conditions.
We’ve had mixed experiences with Joby tripods—they’re lightweight and portable but can crack in cold weather.
Keep Your iPhone Battery Alive
Cold weather drains your iPhone battery faster than usual. To avoid running out of power:
- Carry a portable charger (power bank).
- Keep your phone warm by storing it in your coat pocket when not in use.
We recommend the Anker PowerCore series or the RAVPower Portable Charger for reliable performance.
Finding the Northern Lights
To capture the Aurora Borealis, you’ll need to be in the right place at the right time. Here are some tips:
- Location: Head to areas near the Arctic Circle, such as Norway, Iceland, Canada, or Alaska.
- Timing: The best time to see the Northern Lights is during the winter months (September to March) when the nights are longest.
- Weather: Clear, dark skies are essential. Check the weather forecast and aurora activity using apps like My Aurora Forecast or Aurora Alerts.
Final Tips for Stunning Northern Lights Photos
- Use a Tripod: This is non-negotiable for sharp, clear photos.
- Experiment with Settings: Adjust Night Mode and Exposure Adjustment to suit your environment.
- Be Patient: The Northern Lights can be unpredictable, so give yourself plenty of time.
- Stay Warm: Dress in layers and bring hand warmers to stay comfortable during long nights.
With these tips, you’re ready to capture the magic of the Northern Lights with your iPhone. Whether you’re a seasoned photographer or a beginner, the Aurora Borealis is a breathtaking subject that’s worth the effort.
Keep reading and, always, keep exploring!
See Also: The Best Time to See the Northern Lights in Norway
See Also: Southern Lights vs. Northern Lights: What’s the Difference?

